✨ More Handmade Bracelets
Warm greetings,
Here are a few more bracelets that I created recently. Each one has its own colour theme and personality. The white and silver one is my favourite.


✨ More Handmade Bracelets
Warm greetings,
Here are a few more bracelets that I created recently. Each one has its own colour theme and personality. The white and silver one is my favourite.
💚 A Small Piece, A Big Change
Hello,
In this post, I want to share a little about how much my life has changed over the past six months. After my mother had a stroke, I moved to a different town so I could visit her in the hospital and later in the nursing home.
It hasn’t been easy, but life continues, and summer is here.
Lately, I’ve been spending a lot of time going through my mum’s belongings, as we’ve decided to sell the house. I will also have to move out permanently, so these past months have felt a bit like a treasure hunt.
🧵 Giving Things a Second Life
Among everything, I found several boxes of old, often damaged jewellery pieces, along with countless loose beads, charms, and small trinkets. I decided to give them a new life and turn them into something I could actually wear or give away.
✨ The First Piece
To start, I made a silver bracelet with green crystals. It turned out really pretty and comfortable to wear, so I’m planning to make a few more.
You can see the result in the photos below.


👗Cotton Summer Dress Revamp
Hello,
Something a bit different today.
I love white clothes… at least as long as they stay clean and actually white. Unfortunately, that rarely lasts. Sometimes even the first wash is enough to turn a bright white dress into something you don’t really want to wear anymore — especially if you’re a bit clumsy like me.
This time, though, it really wasn’t my fault.
I got this delicate white summer dress a few years ago, and this year I wanted to wear it again. But I noticed the colour had changed. It wasn’t white anymore — it had developed some strange brownish stains, which turned grey after washing.
I didn’t want to throw it away, so I decided to experiment with fabric dyes.
I know the original white version was beautiful, but I think the dyeing effect turned out really interesting. And now I’ll actually be able to wear this blue dress more often.
Well, I had nothing to lose.
You can see the result in the photos below.


🌼Statement Doily
Hello everyone,
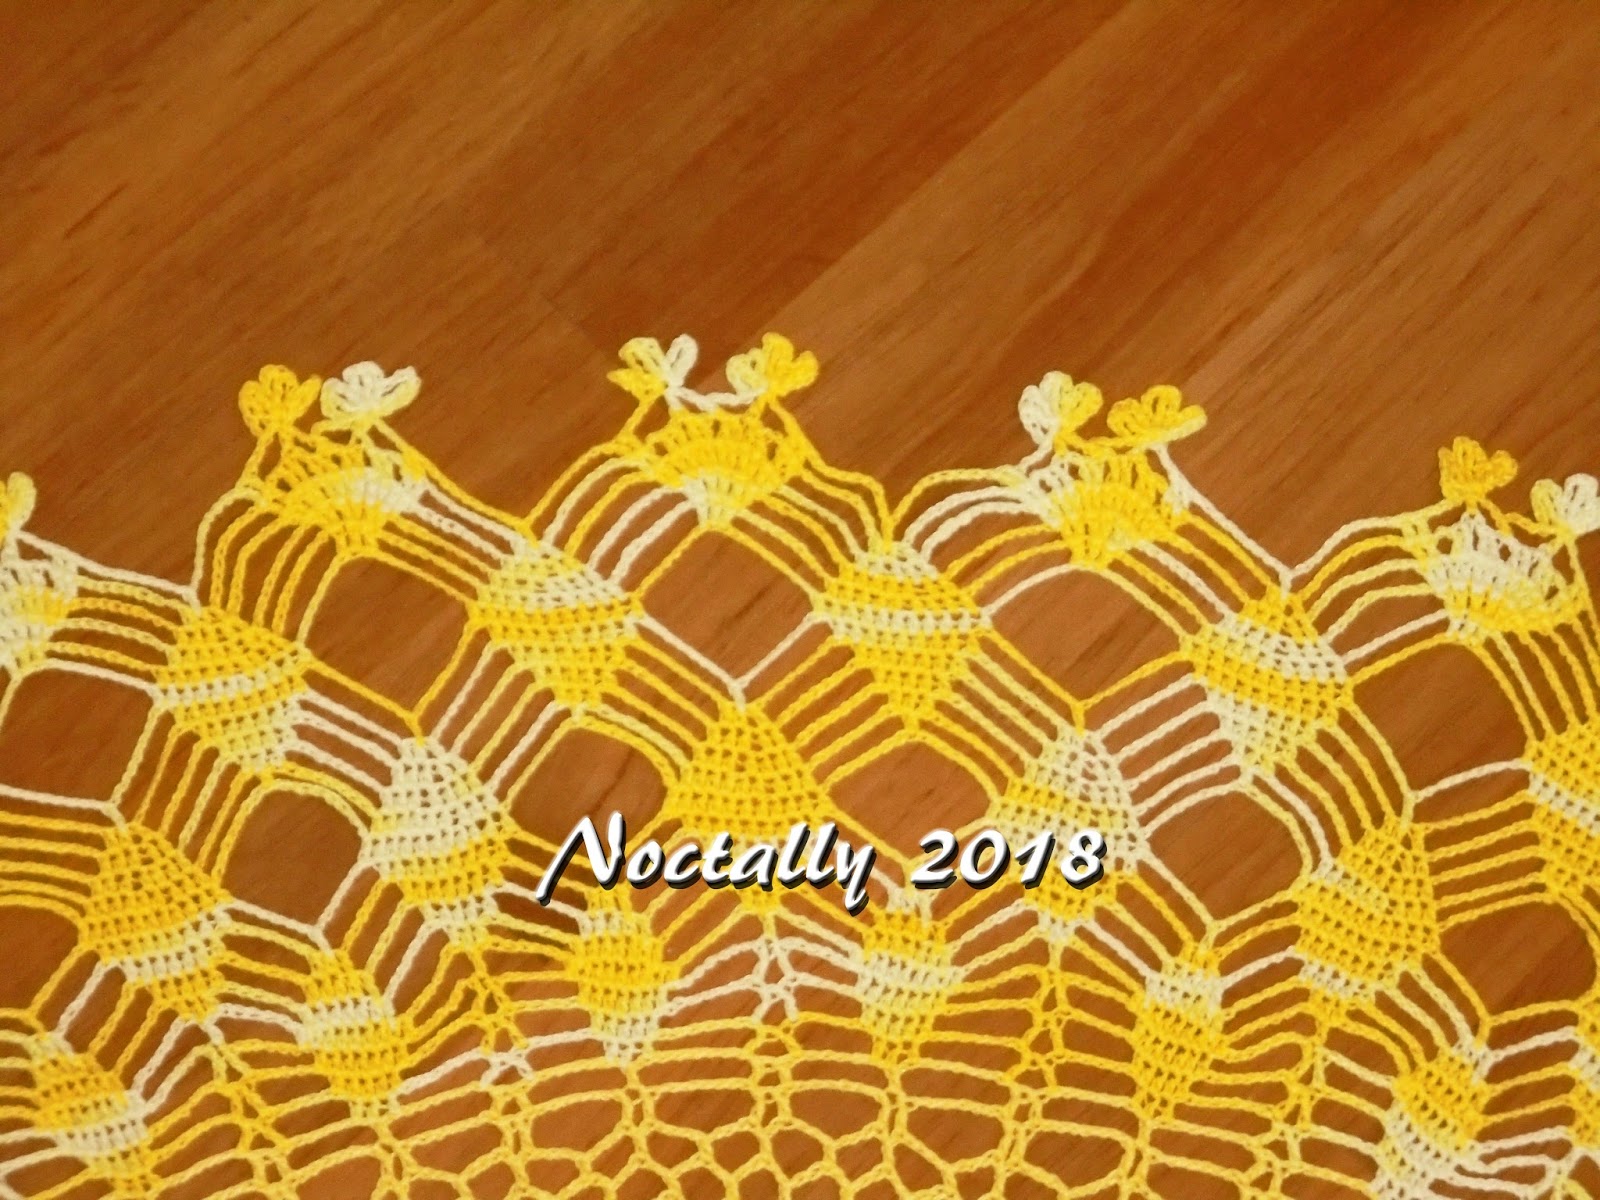
This is a statement doily — large, made of very thin cotton thread in white and yellow shades, with a subtle and beautiful colour transition.
This wasn’t a recent project, but something I worked on for several months. It was strongly requested by one rather eccentric auntie, and at the time I had no idea what I was signing up for.
I started questioning my life choices as soon as I began crocheting this massive yet very precise piece. It required a tiny crochet hook and extremely small stitches. The pattern itself wasn’t difficult, but it demanded constant attention and careful counting.
The doily has a diameter of 97 cm.
I do love the final result, but I don’t think I would make something like this again — unless I somehow ended up with nothing else to do for a very long time.
It wasn’t a relaxing kind of work, and I’m honestly surprised that some people truly enjoy making doilies or large lace pieces like this. I really admire those who create such items regularly.
Anyway, the project is finished, the piece has been sold, and you can see the result in the photos below.




🌹 Crochet Rose Experiment
Hello everyone, welcome to this first day of summer blog entry.
Today I want to share one of my recent experiments — a large, realistic-looking crochet rose.

For this project, I used white cotton thread and a 2.5 mm crochet hook.
Each petal was crocheted and then dyed (painted) separately. In the photos below, you can see all the petals used to create one flower — still wet after painting. As you’ll notice, they vary in shape and size, which helped me achieve a more natural look.
This was my first attempt at dyeing crocheted elements. It would definitely be easier and faster to use pre-dyed yarn in different shades, but I wanted to try something new — a method that allows each petal to look unique.

I’m happy with the final result, even though the process was quite time-consuming. Sewing all the petals together turned out to be the most challenging part, and it took a few attempts before I got the shape right.
This was just the first try — I’d love to make more roses in different colours and forms. Next time, I might use thinner yarn for an even more delicate effect.
If you have any questions or would like to learn more about the dyeing technique and materials I used, feel free to leave a comment — I’ll be happy to help.
Enjoy the summer and have a wonderful, creative time!
